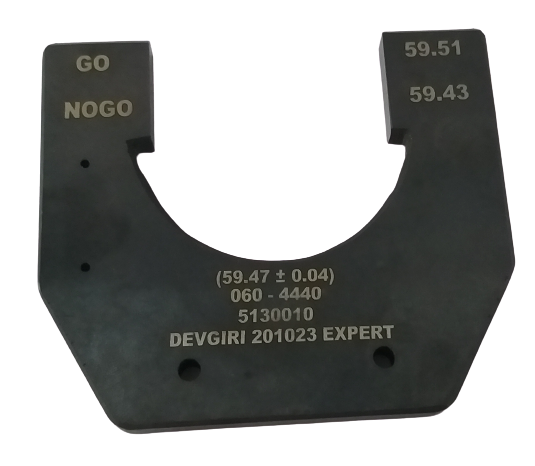
Snap Gauges

It has two sets of jaws, the first one or pair (outermost) are set using the upper limit (tolerance) of the part and the inner set adjusted to the lower limit of the part. A correctly machined part will pass the first set of jaws and stop at the second — end of test. In this manner a part may be checked in one action, unlike the plug gauge that needs to be used twice and flipped to access the second gauge.

Our Planning and Design Services Include:

  • ALL TYPE OF PLAIN LIMIT GAUGES IN STEEL AND CARBIDE
  • FOR RANGE 0.5-5mm Two piece design.
  • FOR RANGE 5-50mm SINGLE ENDED SNAP DESIGN.
  • FOR RANGE 50-340mm CASTING BODY WITH HARDENED TIPS.
  • GROOVE AND DESG CAN BE MADE ON DEMAND.

Want to know if this product is right for your business?

Contact Us

Looking an Adequate Solution for your Company?

Contact us today for free conslutaion or more information.

Get In Touch